Next.js: Set up next-i18next and Google Translate

Learn the scalable way to localize your Next.js app
(7 minute read)
Prefer a different library?
Not sure which library is right for you? Learn the differences
Automatic Machine Translation and Management
If you’ve used i18next before but have never used it with i18nexus, you’re in for a treat.
i18nexus makes managing our translations a million times easier by storing our app texts in the cloud. It even machine translates our strings using DeepL and Google Translate to as many languages as we need. Whenever we’re ready to hire professional translators, we just invite them to our i18nexus project and let them edit the translations!
Let’s do it!
If you don’t already have an i18nexus account, sign up for a free account. After naming our project we’ll be directed to our language dashboard:
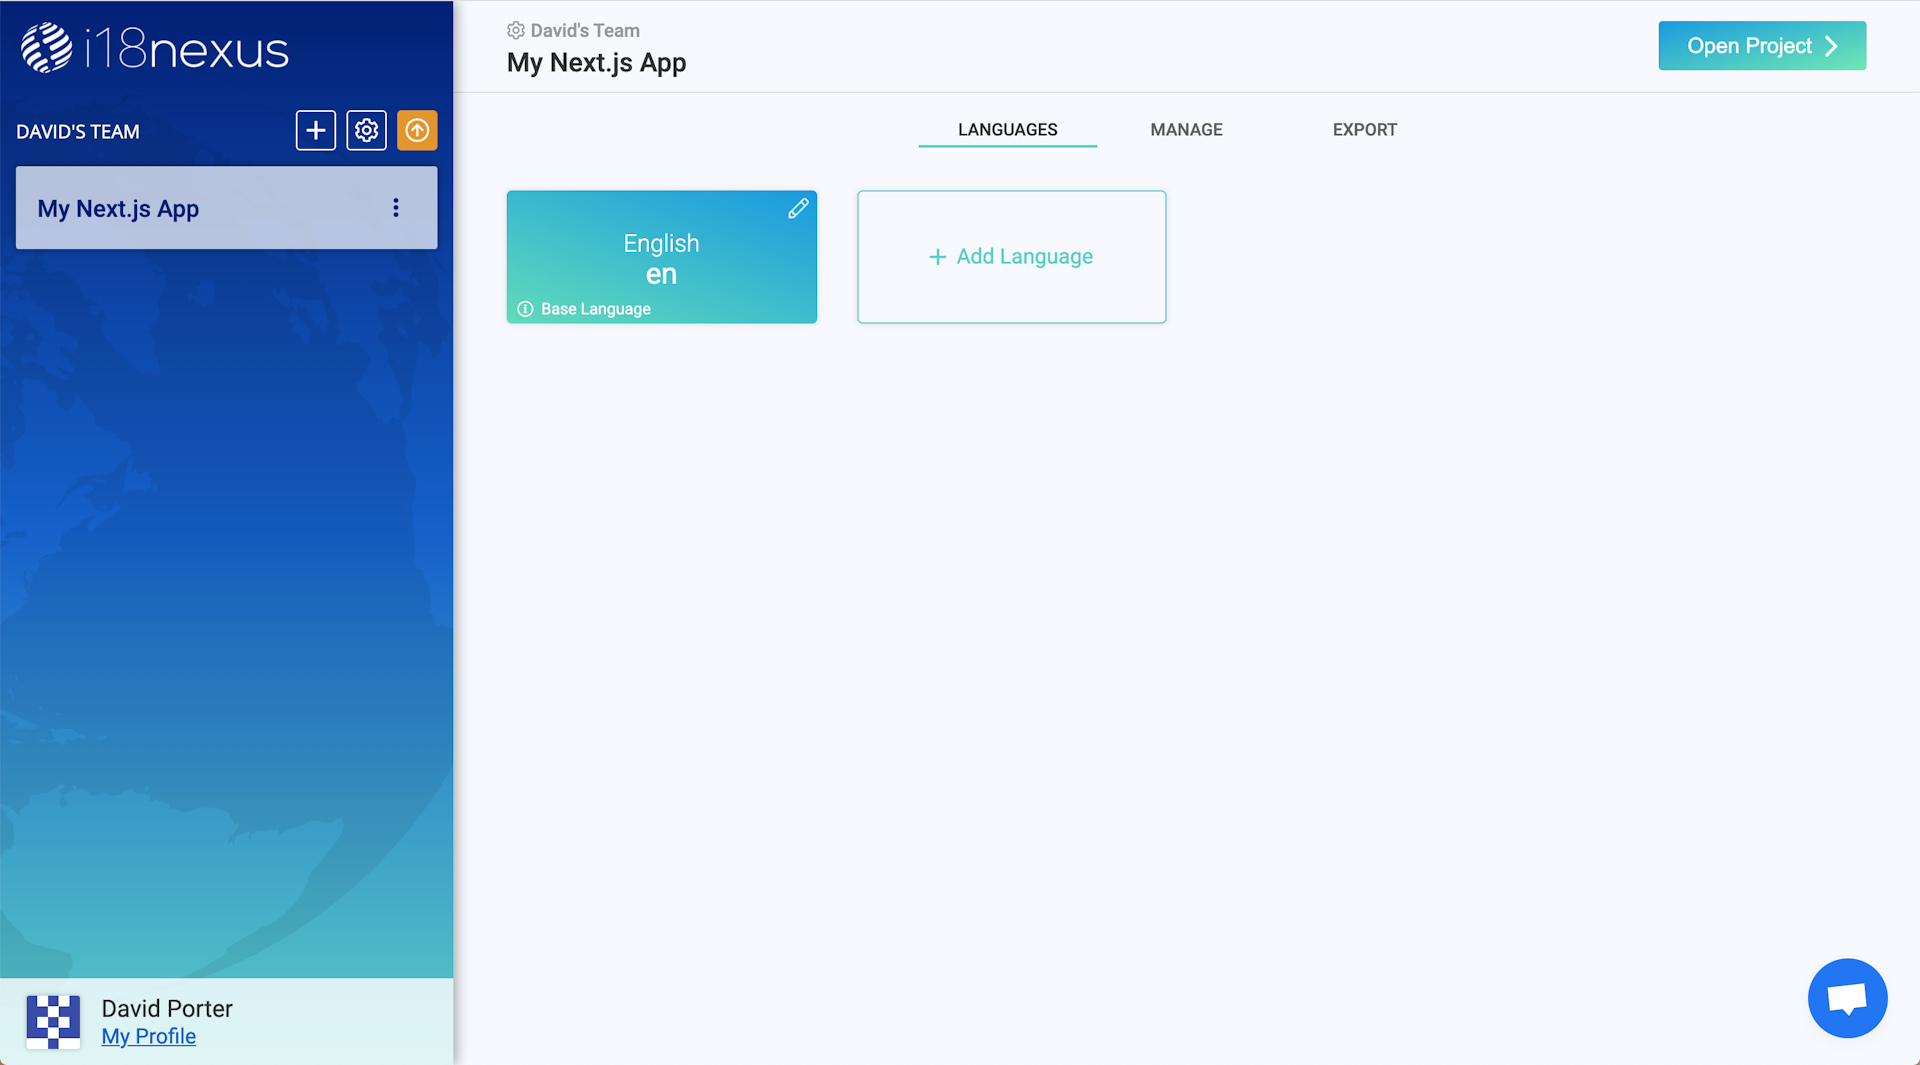
The first language tile is our base language, which should match the language we set for the defaultLocale property in next-i18next.config.js.
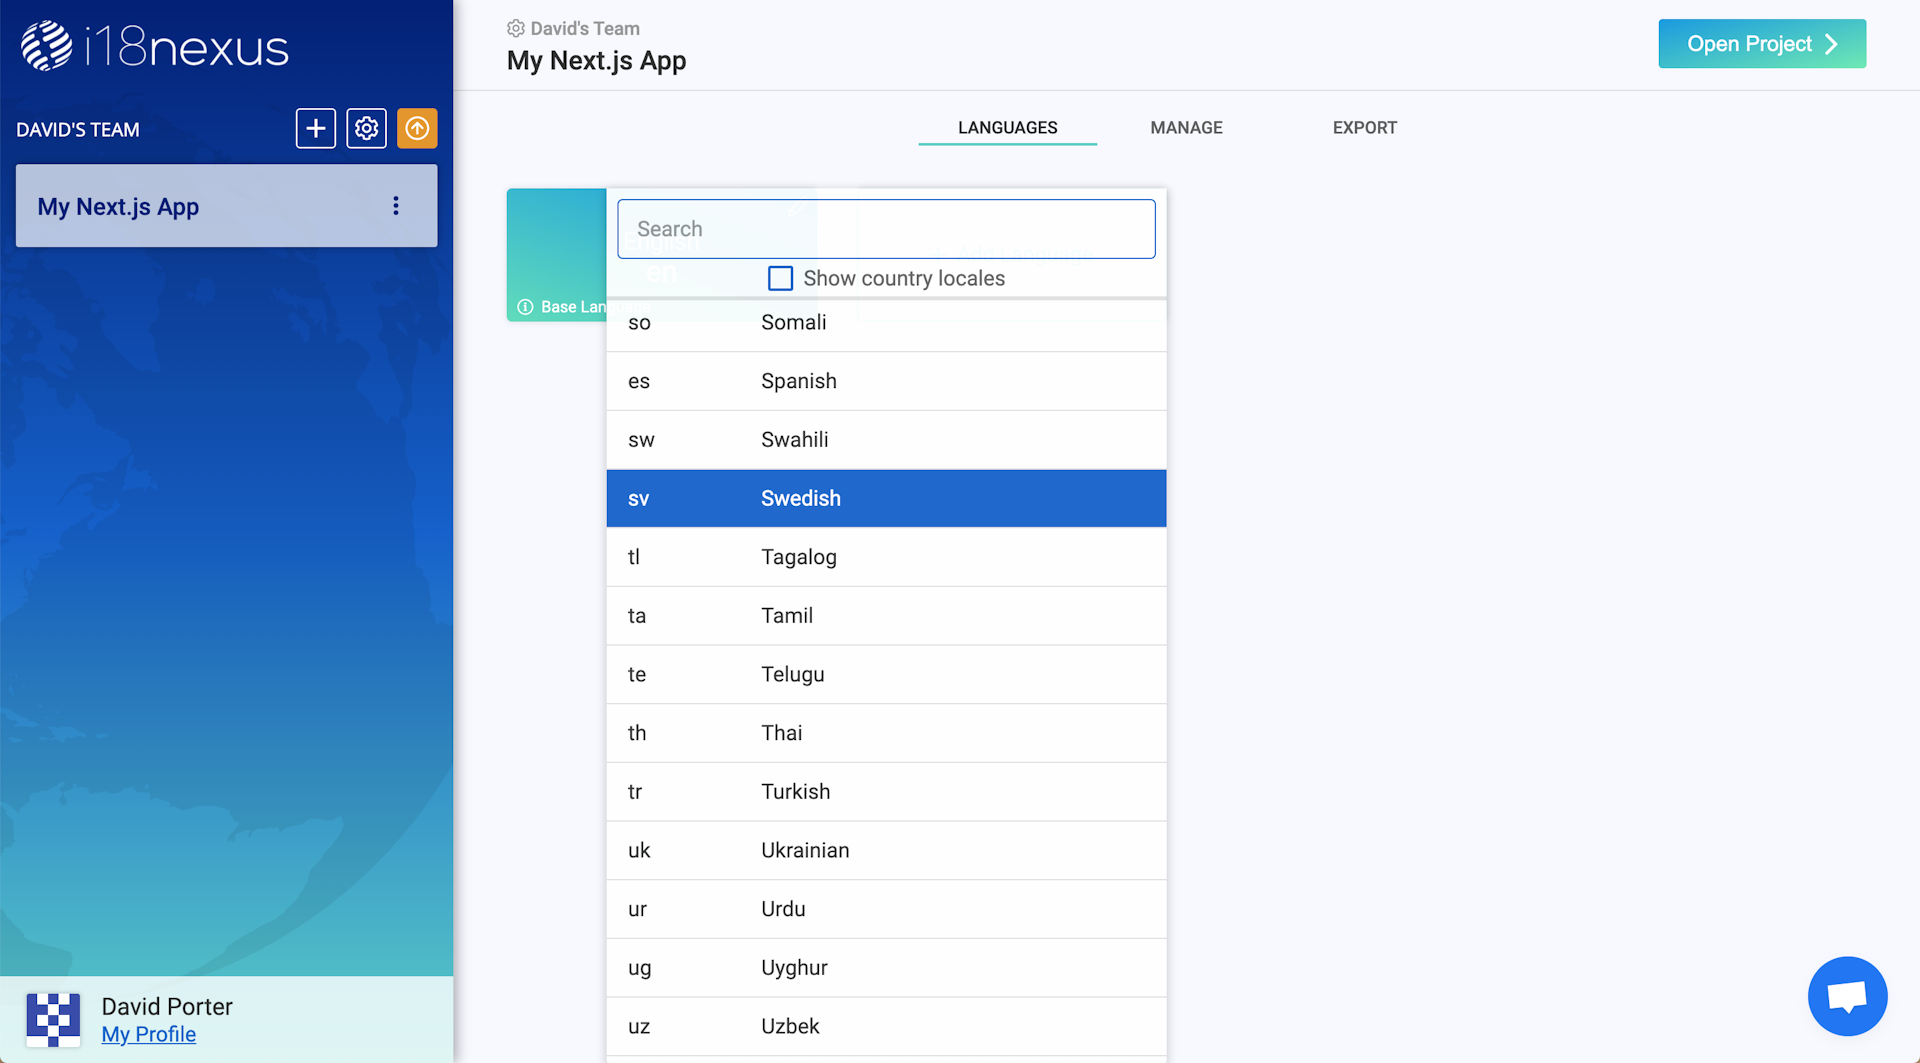
Next, we’ll click Add Language to select the locales that we want our app to support. Since we already added sv (Swedish) to our locales list in next-i18next.config.js, we’ll select Swedish:
Now let’s click Open Project in the top right corner to go to the Strings Management page where we will be adding our strings.
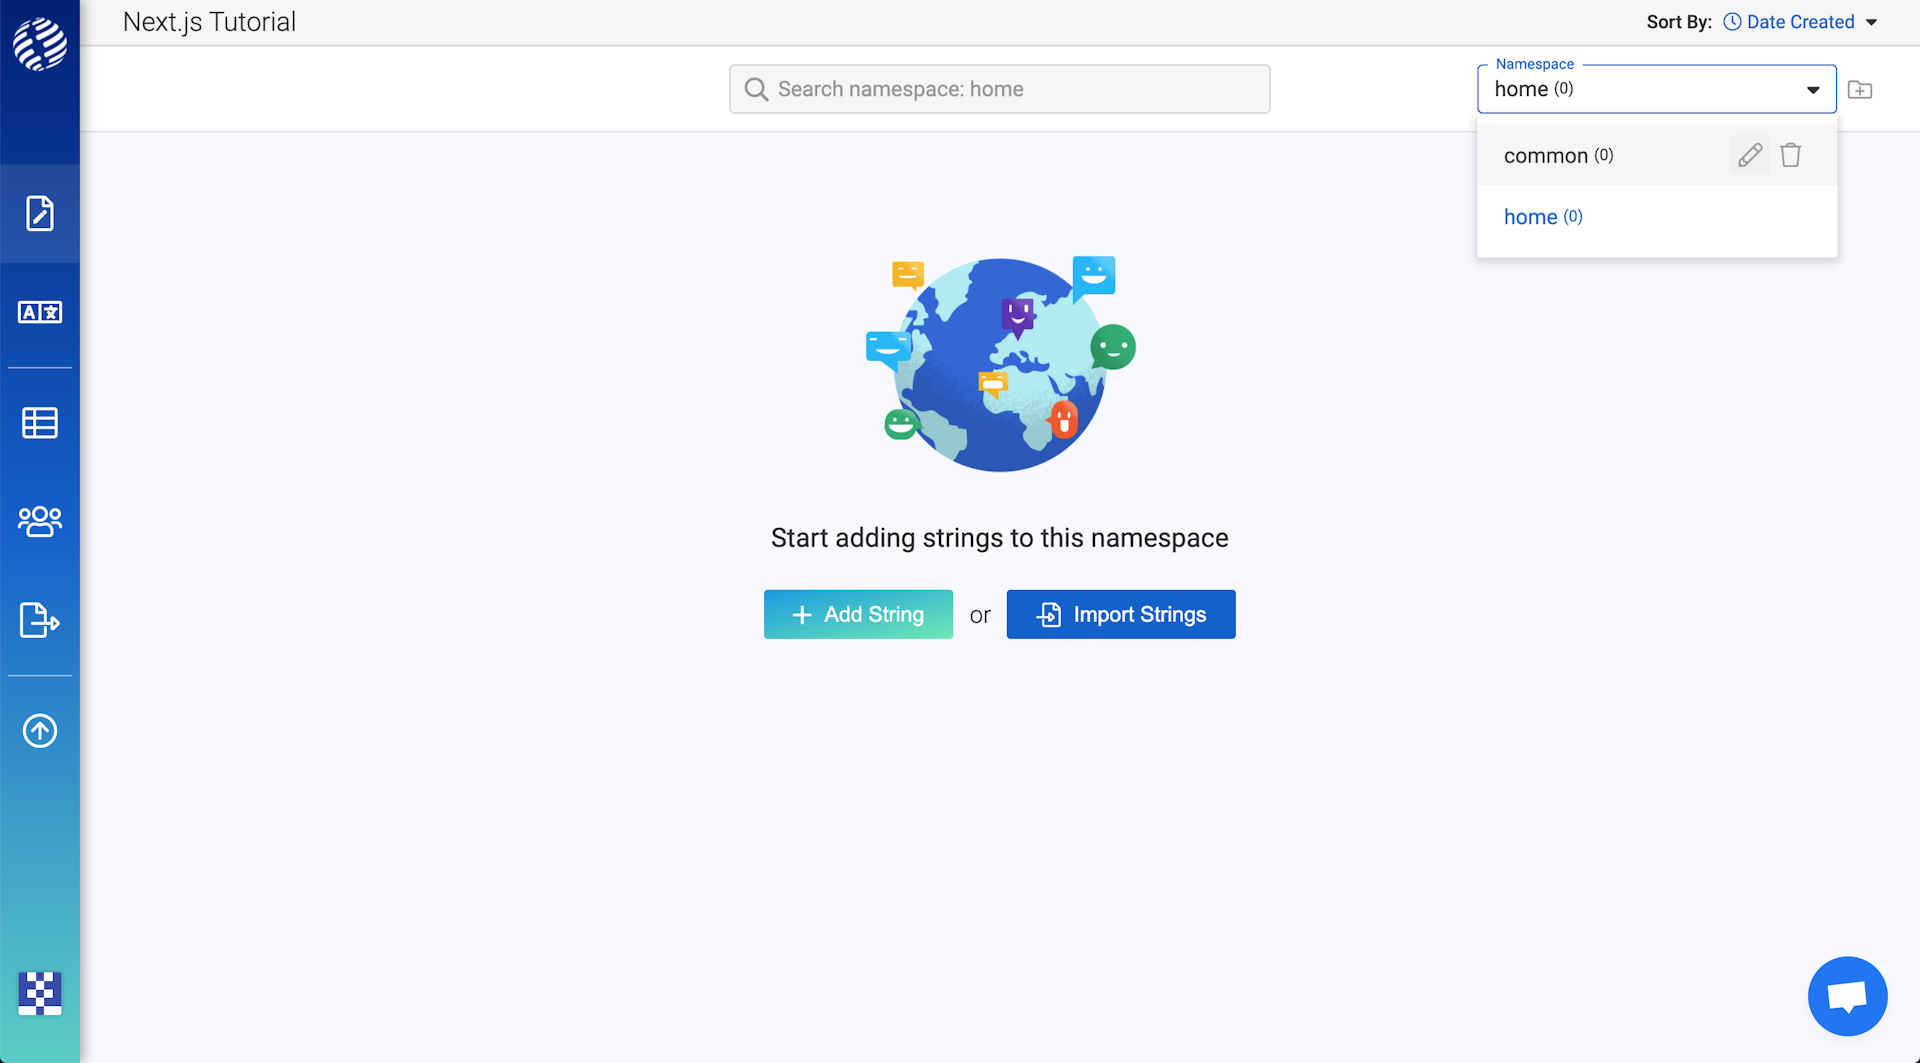
Namespaces
At the top of the page, there is a dropdown labeled namespaces, which contains one namespace already created for us called “default”.
It is convention to have one namespace for each Page in your Next.js app, as well as a namespace called “common” for common strings that appear on more than one page.
Let’s rename the “default” namespace to “common”, and then create a namespace called “home” to be used for our Home page:
Important: Even though we will not be using the “common” namespace in this walkthrough, it is required. We will discuss why shortly. 🙂
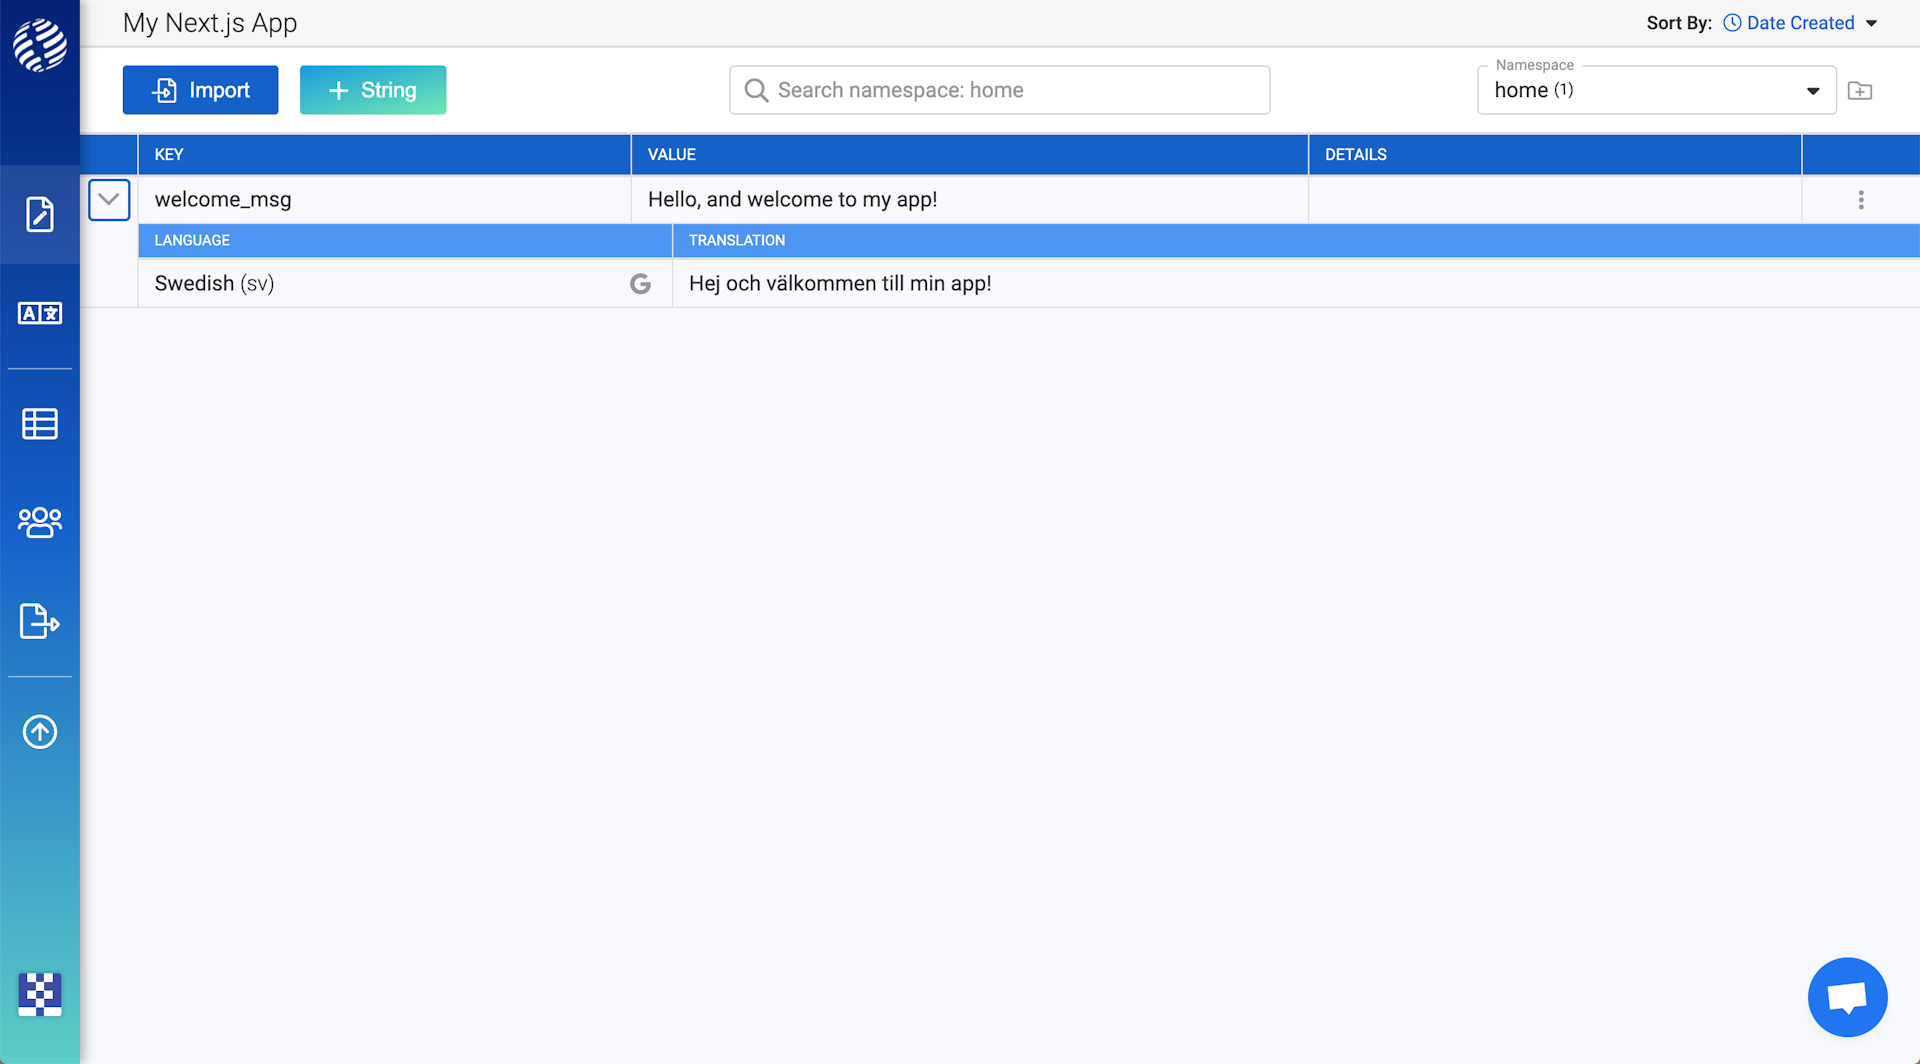
To add our first string, click Add String. I’m going to add a string in my “home” namespace that says “Hello, and welcome to my app!”:
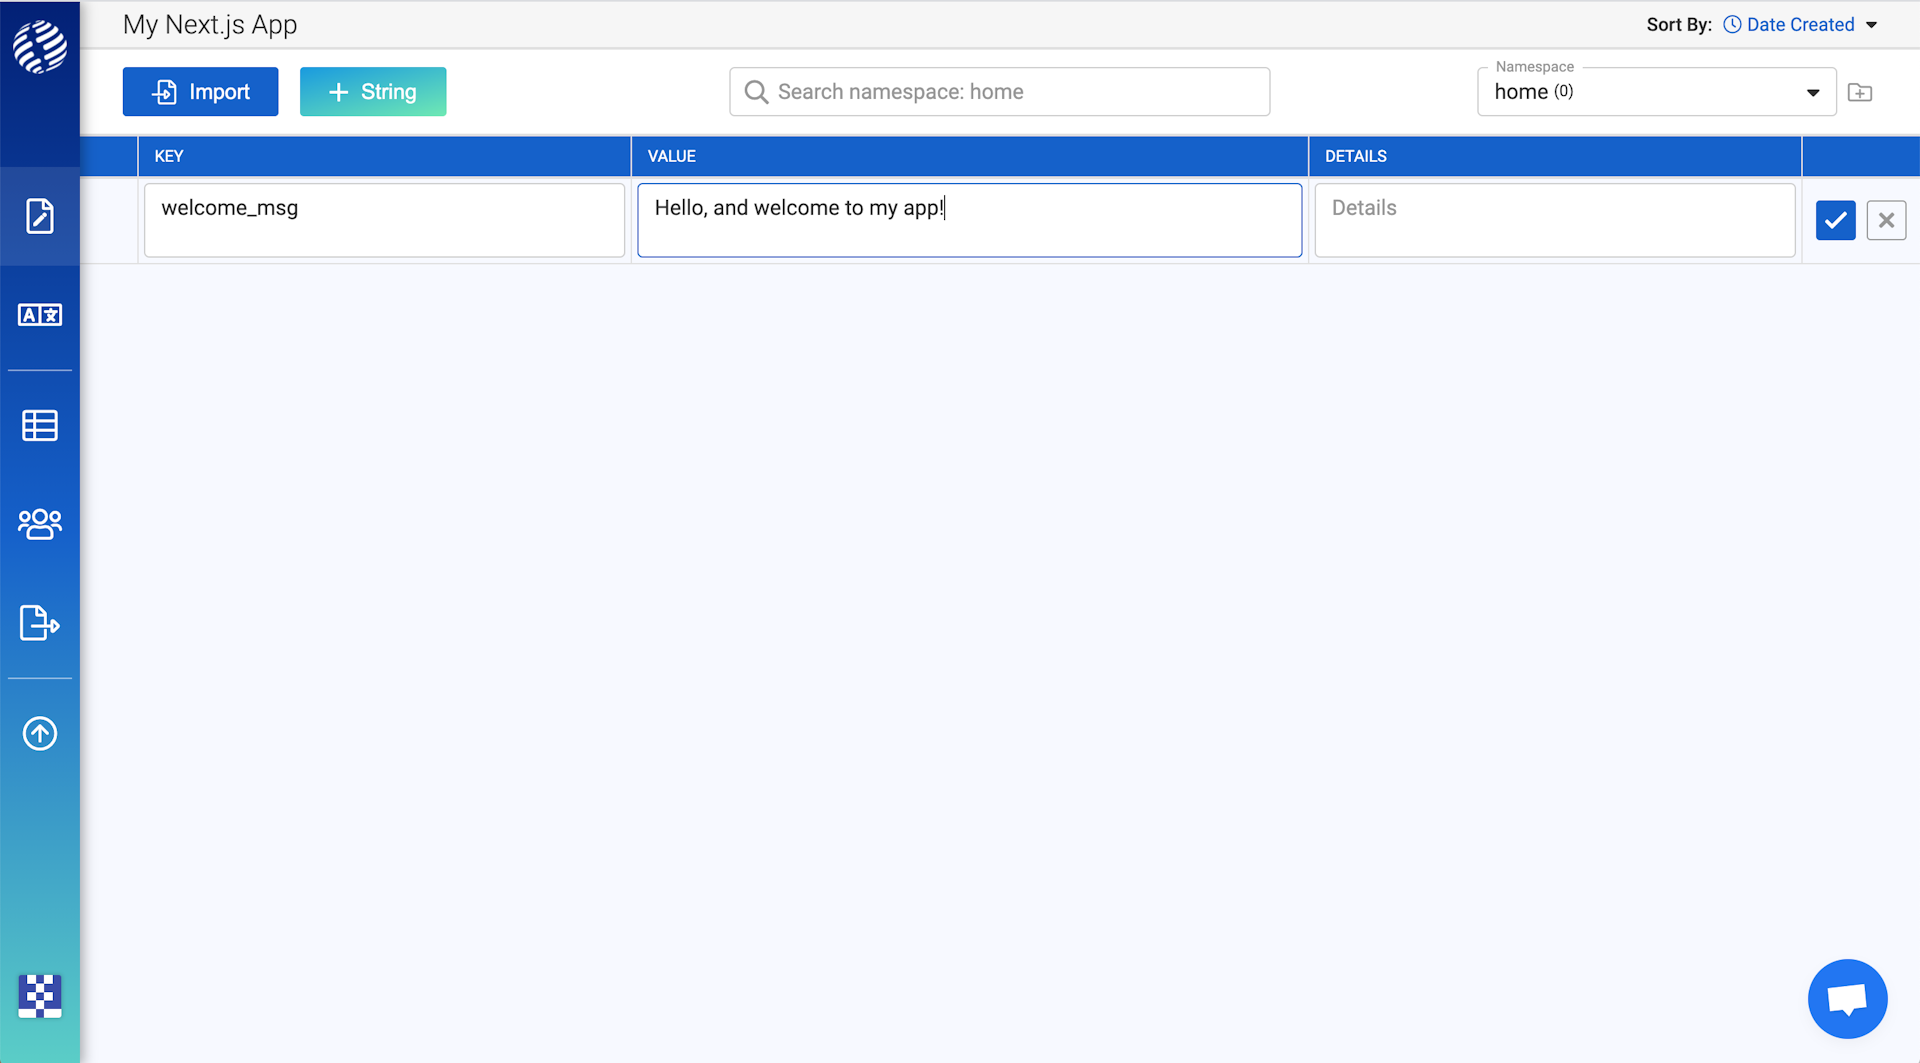
The key is how we will reference this string in our code.
The value is the text that will be rendered in our app.
The details field is optional. It is meant to provide any extra information about the context of our string for when we’re ready to bring in professional translators. We can even add an image here for more context.
After adding the string, we can expand the row to see our automatic translations (using DeepL and Google Translate):
Connecting our Translations
We’re going to use the i18nexus CLI to import our i18nexus translations in our Next.js app:
npm install i18nexus-cli -g
If we go to the Export tab in i18nexus, we’ll be able to find our project API key:
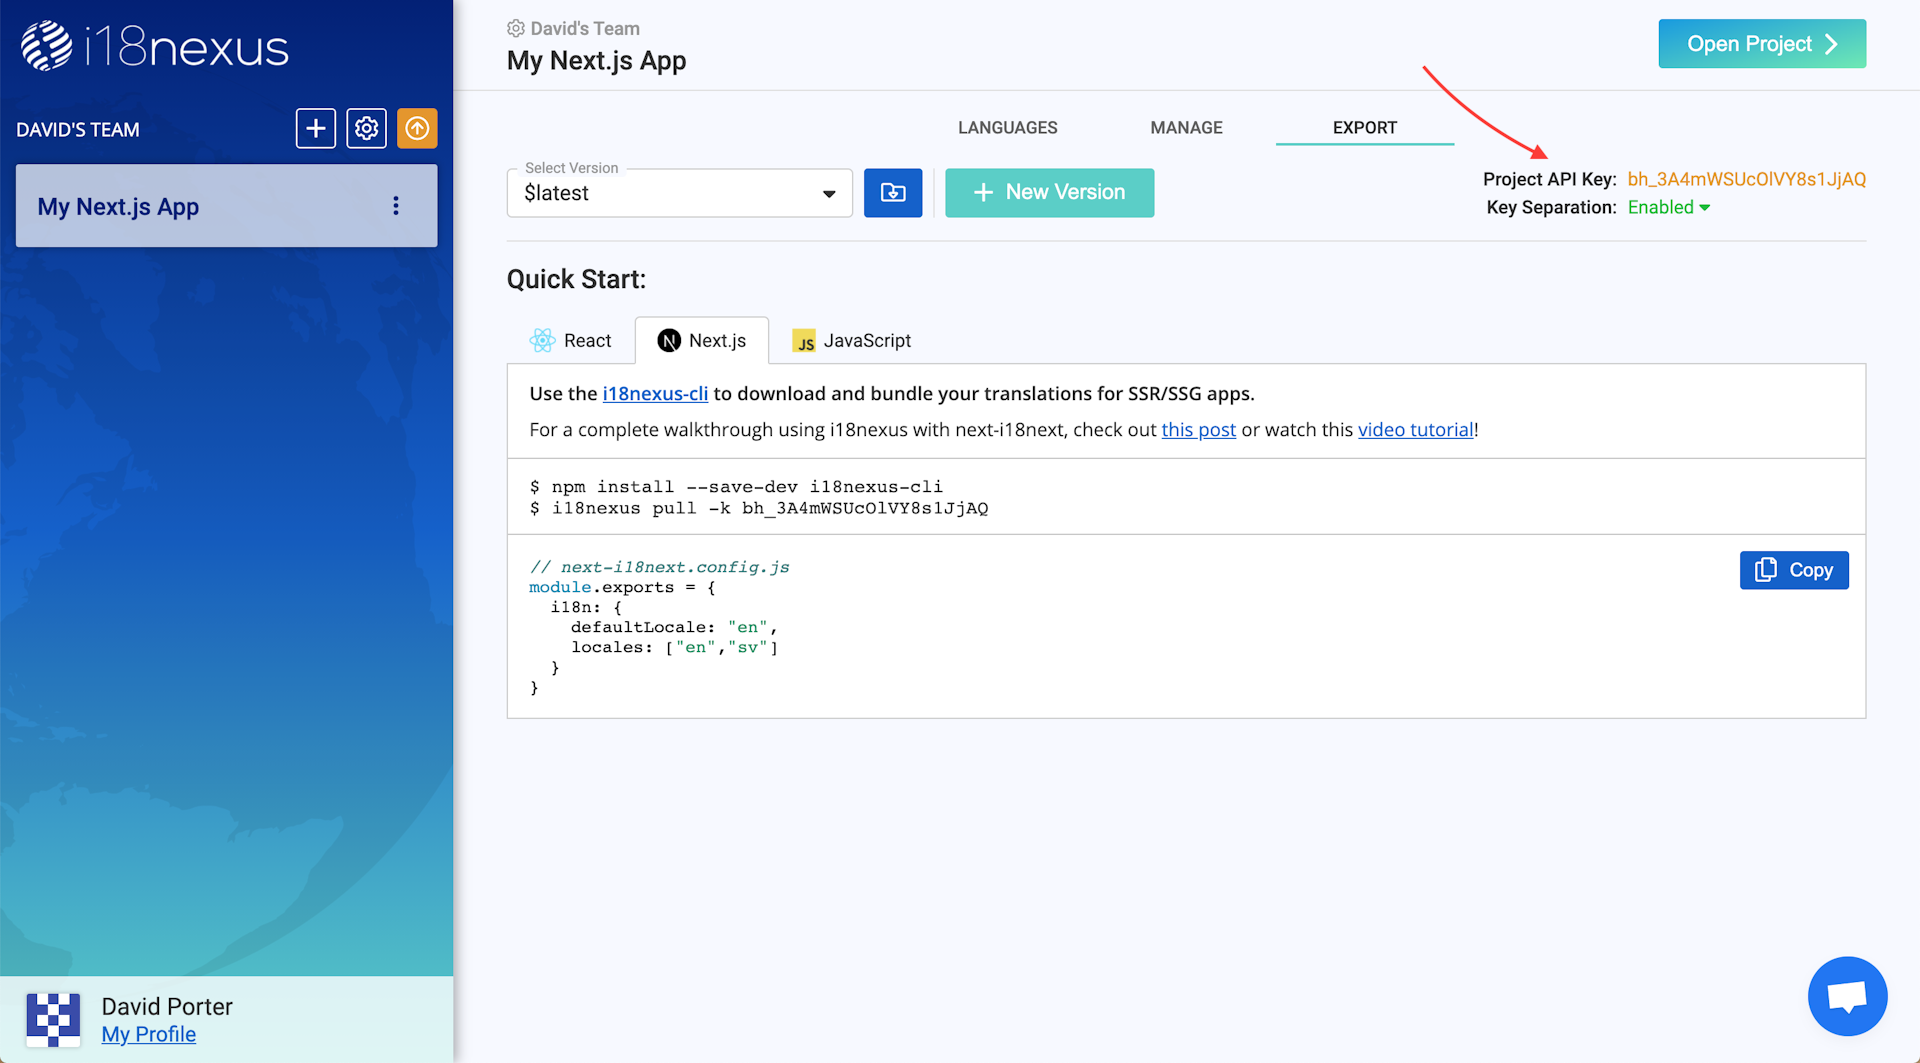
In our app directory, all we have to do is run i18nexus pull with our API key and all of our latest translations will be downloaded to our project directory!
$ i18nexus pull --api-key <YOUR_API_KEY>
Now all our translations will be located in public/locales, which is where next-i18next expects them.
We can also add our API key as an environment variable named I18NEXUS_API_KEY so that we can just use i18nexus pull without typing your API key every time.
To do this, we simply create an environment variable file called .env at the root of our app that contains I18NEXUS_API_KEY=YOUR_API_KEY.
Bonus Points:
If we want to automatically pull our latest translations every time we start up our dev server or build our app, all we have to do is update our scripts in package.json:
package.json...
"scripts": {
"dev": "i18nexus pull && next dev",
"build": "i18nexus pull && next build",
"start": "i18nexus pull && next start"
}
...If you do this, you should also install the i18nexus-cli as a dev dependency:
npm install i18nexus-cli --save-dev
Rendering our Translations
Right now our app is just using the boilerplate create-next-app home page:

serverSideTranslations
In our home page we need to import a function called serverSideTranslations from next-i18next. This function needs to be run in getStaticProps or getServerSideProps on each page-level component. It provides our page with our translations and configuration options as props. We’ll add this to our pages/index.js:
pages/index.jsimport { serverSideTranslations } from 'next-i18next/serverSideTranslations';
export async function getStaticProps({ locale }) {
return {
props: {
...(await serverSideTranslations(locale, ['home'])),
}
}
}
...The severSideTranslations function accepts a locale as the first argument and the namespaces required for this page as the second argument. This ensures that our app only has to load the namespaces needed for the page. The locale is passed down from getStaticProps by Next.
useTranslation
Lastly, let’s import the useTranslation hook from next-i18next. The useTranslation hook contains a function called t that takes a key as an argument and renders the proper translation.
I’m going to clear out most of the boilerplate that was generated by create-next-app and just render a single line of text on my Home page. Here’s my entire home page using useTranslation to render my “welcome_msg” string:
pages/index.jsimport Head from "next/head";
import styles from "../styles/Home.module.css";
import { serverSideTranslations } from "next-i18next/serverSideTranslations";
import { useTranslation } from "next-i18next";
export async function getStaticProps({ locale }) {
return {
props: {
...(await serverSideTranslations(locale, ["home"]))
}
};
}
export default function Home() {
const { t } = useTranslation();
return (
<div className={styles.container}>
<Head>
<title>Create Next App</title>
<link rel="icon" href="/favicon.ico" />
</Head>
<main className={styles.main}>
<h1 className={styles.title}>{t("home:welcome_msg")}</h1>
</main>
</div>
);
}Notice that when we use useTranslation, we need to specify the namespace with the key like so: home:welcome_msg.
The only time we do not need to specify the namespace inuseTranslation is when the key we are referencing is in our default namespace. By default, i18next sets our default namespace to “common”. If you’d like, you can change your default namespace via the defaultNS config option in next-i18next.config.js.
Now let's run npm run dev, and check it out!

We did it! 🎉
Using Other Languages
Right now, our app is using en because that is what we set as our defaultLocale in next.config.js.
If you recall, we added Swedish (sv) to our list of locales. To see our app in Swedish, all we have to do is add /sv to the end of the URL. If a user’s browser language is set to Swedish, Next will automatically redirect them to the /sv route. Let’s see what out app looks like in Swedish:

Looks like we’re internationalization pros! 😎
To learn more about internationalized routing and changing to different languages, take a quick read of the Next.js docs here.
Level up your localization
It only takes a few minutes to streamline your translations forever.
Get started